DIY Home Electronics: A Guide to Failure Analysis and Troubleshooting
Category : |
Sub Category : Posted on 2023-10-30 21:24:53
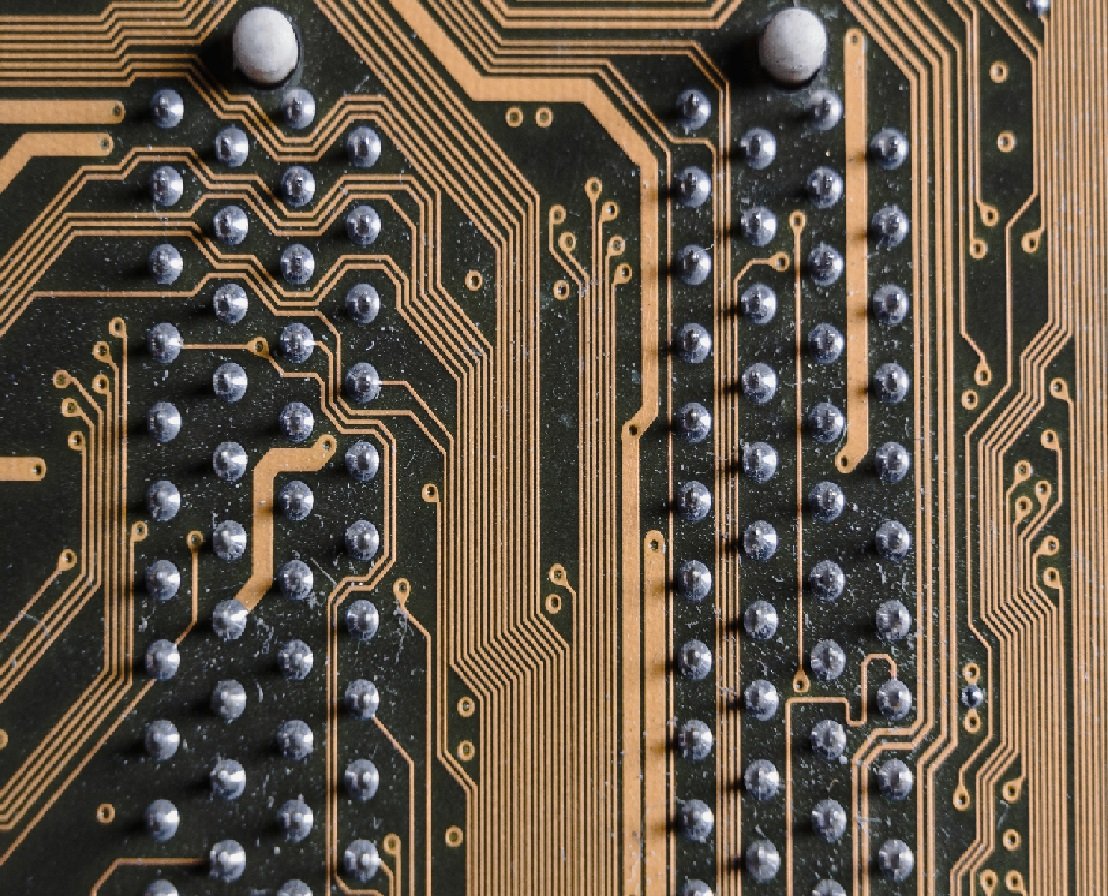
Introduction: As technology becomes an integral part of our daily lives, many homeowners are dabbling with DIY home electronics projects. From setting up smart home systems to building their own home entertainment systems, the possibilities are endless. However, with great power comes great responsibility, and it's essential to be prepared for the inevitable: electronics failures. In this blog post, we will guide you through the process of failure analysis and troubleshooting for your DIY home electronics projects. 1. Understanding the Causes of Electronics Failures: Before diving into the troubleshooting process, it's crucial to understand the common causes of electronics failures. Some common culprits include: a) Power surges or voltage fluctuations: Fluctuations in electricity can damage electronic components, causing them to malfunction or fail altogether. b) Overheating: Electronics that generate excessive heat or lack proper ventilation can overheat and cause damage over time. c) Poor connections or faulty wiring: Loose connections or faulty wiring can lead to intermittent or complete failure of electronic devices. d) Component degradation: Over time, electronic components, such as capacitors or transistors, can degrade, affecting the overall functionality of the device. 2. Troubleshooting Basics: When facing an electronics failure, it's important to have a systematic troubleshooting approach. Here are some basic steps to get you started: a) Identify the problem: Document the symptoms or abnormal behavior you observe. Is the device not powering on? Is there no sound or picture? Make sure to take notes to help narrow down the potential causes. b) Check the power supply: Ensure that all power cords and connections are secure. Try plugging the device into a different outlet or using a different power adapter to eliminate power supply issues. c) Inspect for physical damage: Examine the device for any visible signs of damage, such as melted components, burnt traces, or swollen capacitors. These signs often indicate a component failure. d) Test individual components: If possible, isolate the suspected components and test them individually using tools like a multimeter or a logic probe. This will help identify faulty components that need to be replaced. e) Review the circuitry: Check the circuit board for any loose or cold solder joints, which could lead to connection issues. Inspect the board for any burnt or damaged traces and repair them if needed. 3. Seeking Professional Help: Sometimes, despite our best efforts, certain failures might require expert assistance. If you've exhausted all troubleshooting options or lack the necessary technical expertise, don't hesitate to seek help from a professional. They have the knowledge and tools required to pinpoint the issue accurately and provide a lasting solution. Conclusion: DIY home electronics projects offer a host of benefits, from cost-effectiveness to customization. However, it's important to be prepared for potential failures and know how to troubleshoot them effectively. By understanding the common causes of electronics failures, implementing a systematic troubleshooting process, and seeking professional help when needed, you can overcome obstacles and ensure the smooth functioning of your DIY home electronics projects. Remember, perseverance and a willingness to learn are key to becoming a proficient DIY home electronics enthusiast. Happy troubleshooting! Here is the following website to check: http://www.svop.org also for more info http://www.mimidate.com


