A DIY Guide to Surface Mount Technology (SMT) Electronics for Your Home
Category : |
Sub Category : Posted on 2023-10-30 21:24:53
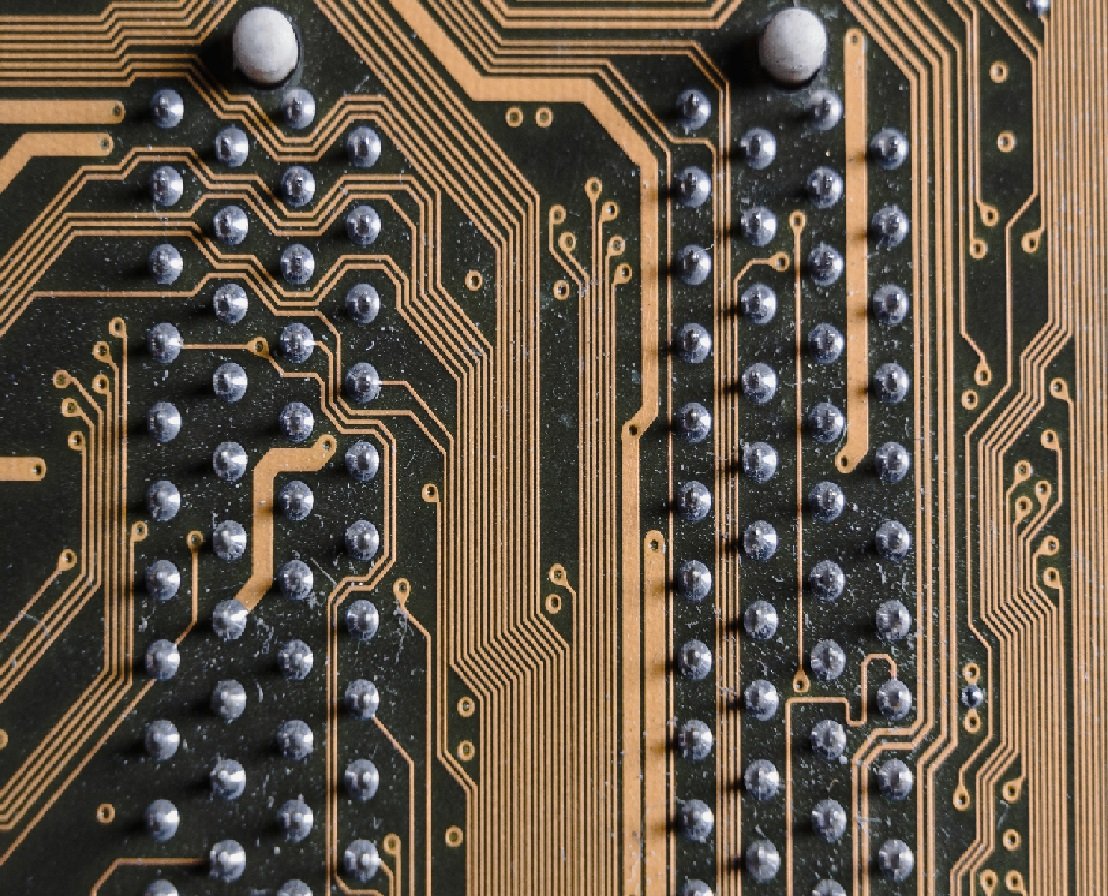
Introduction: With the advancement of technology, surface mount technology (SMT) has become the industry standard for electronics manufacturing. However, SMT is not limited to factories and commercial applications. In fact, you can incorporate SMT electronics into your home projects with a little knowledge and the right tools. In this blog post, we will guide you through the process of DIY SMT electronics for your home, making your projects more efficient and professional-looking. What is Surface Mount Technology (SMT)? Surface mount technology (SMT) refers to the method of soldering electronic components directly onto the surface of a printed circuit board (PCB), as opposed to the traditional through-hole method. SMT components are smaller, lighter, and more suitable for high-density circuit designs. Benefits of DIY SMT Electronics for Your Home: 1. Miniaturization: SMT components are much smaller than through-hole components, allowing you to design compact and space-saving circuits. This is particularly useful for projects with size constraints, such as wearable technology or home automation systems. 2. Efficiency: SMT electronics offer better electrical performance, signal integrity, and high-speed capabilities. By using SMT components in your home projects, you can achieve improved efficiency, durability, and functionality. 3. Cost-effectiveness: SMT components are mass-produced, making them cheaper than through-hole components on a per-unit basis. By using DIY SMT electronics, you can save money without compromising quality. Getting Started with DIY SMT Electronics: 1. Soldering Tools: To get started with DIY SMT electronics, you'll need some basic tools such as a soldering iron with a fine tip, solder wire, flux, solder paste, tweezers, and a magnifying glass or microscope for precision work. 2. Components: Choose SMT components for your project based on their form factor and specifications. You can find a wide range of SMT components online, including resistors, capacitors, integrated circuits (ICs), LEDs, and more. It's important to match the component sizes with your PCB design. 3. PCB Design: Design your PCB layout using software like Eagle, KiCad, or Altium Designer. Ensure that your PCB design follows the specifications provided by the component datasheets. Place the SMT components on the PCB with care, leaving appropriate clearance and maintaining a good layout for better heat dissipation. 4. Soldering Techniques: Soldering SMT components requires precision and practice. Use solder paste to apply a small amount of paste to the PCB pads. Carefully place the components on the paste using tweezers. Then, heat the solder paste with a soldering iron to melt the solder and create a strong electrical connection. 5. Inspection: Once the soldering process is complete, inspect your solder joints under a magnifying glass or microscope to ensure proper connections and avoid any solder bridges or dry joints. Use a multimeter to measure electrical continuity and check for any shorts or open circuits. Conclusion: Integrating surface mount technology (SMT) electronics into your DIY home projects can elevate their performance, efficiency, and aesthetics. With the right tools, components, and soldering techniques, you can create professional-looking circuits just like those found in commercial electronics. Start exploring the world of SMT electronics and take your DIY projects to the next level! Remember to always prioritize safety while working with electronic components and practice good soldering techniques. Visit the following website http://www.svop.org Explore expert opinions in http://www.mimidate.com


